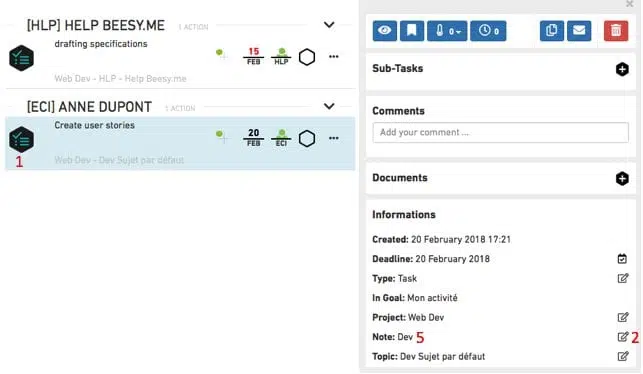
Create or update your meeting notes, directly from your activity tracking Reports At the same time as you track your...

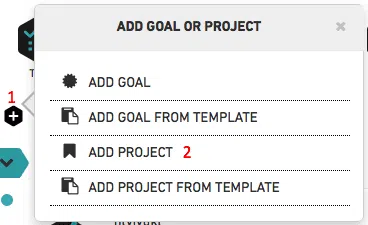
First of all, let’s create your first goal :
1. Click on the + button
2. Click on « Add goal»
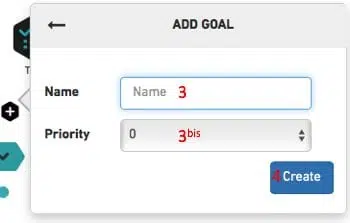
3. Write your goal name
3bis. Choose the priority
4. Click on « Create»
STEP 2 : Add easily your projects in your goals
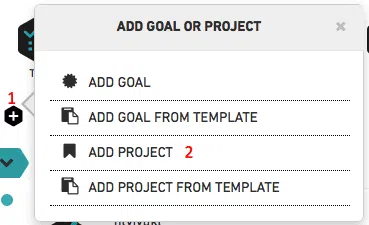
Once the goal created you can add all your projects on it! Every projects without a goal selected will be placed in the goal by default. Now, let’s create a project:
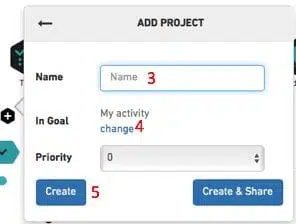
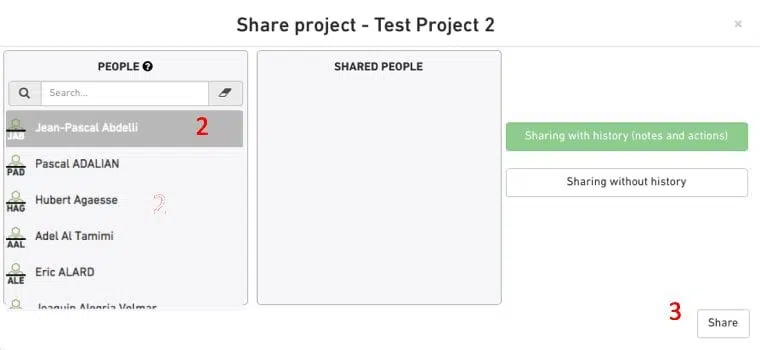
Once the project created, you can share it with your collaborators
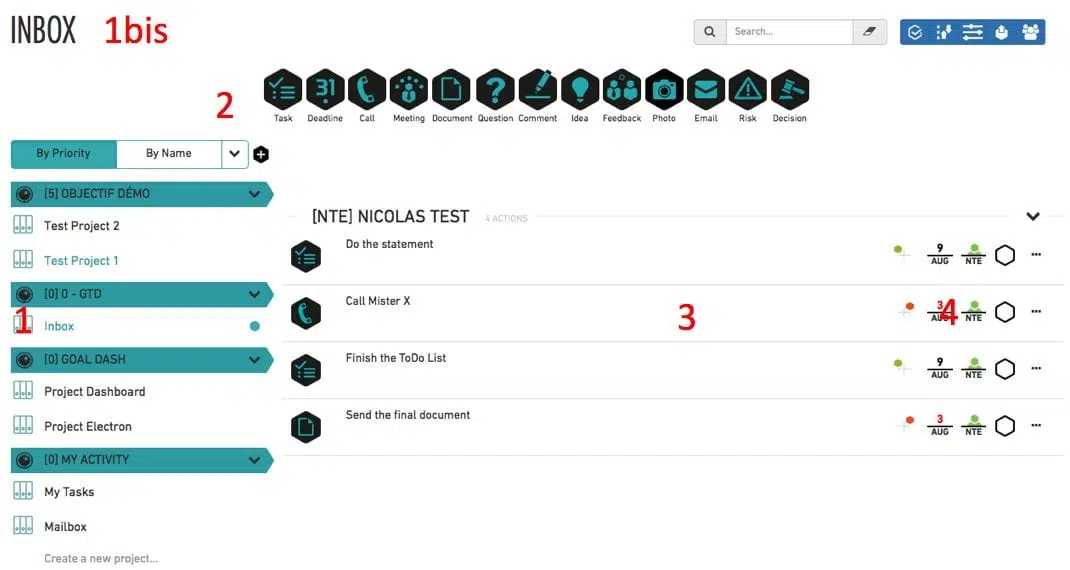
You can directly add tasks, calls, document concerning a client, you don’t have to create a note to do that :
1.Select the project
1bis : The project is mentionned up
2.Click on the action type (for instance Task)
3.Write the detail of the action
4.Contextualize the action : Priority / Deadline / Owner / Close
Meetings are often the best way to manage action plans and consolidate your data. It is now possible to integrate your actions, your emails, your ideas. By editing the action, you can move it in an existing Note and then in one of the topics.
